QID YUFF🔥Social Media Challenge Splinterlands SPT
Hola mi querida comunidad 🙂🌹❤️👋 nuevamente bienvenidos a esta entrega, deseándoles lo mejor donde estén y que estén pasando una lindo domingo.! 😘
Hello my dear community 🙂🌹❤️👋 welcome back to this installment, wishing you the best wherever you are and have a nice Sunday! 😘
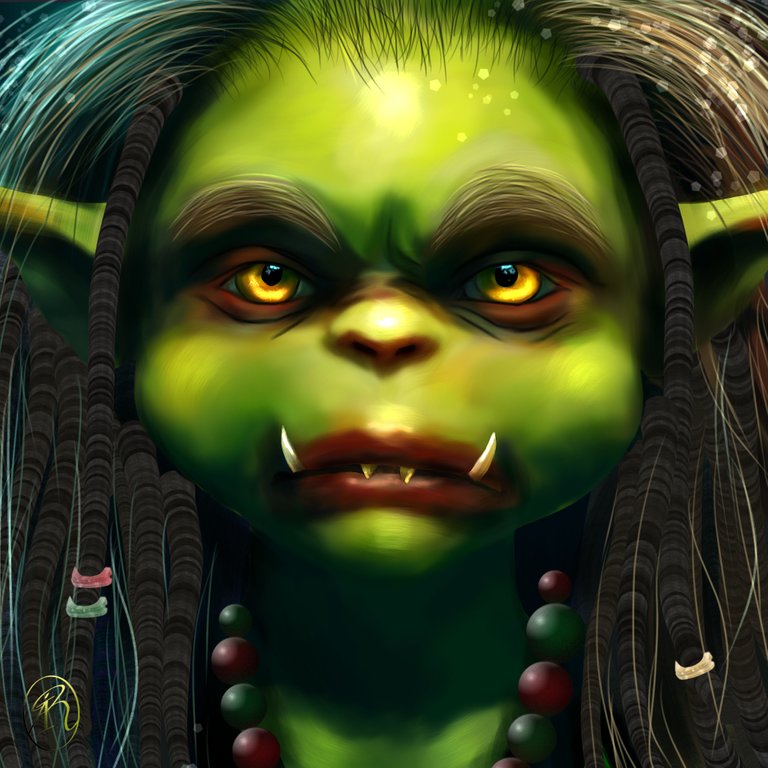
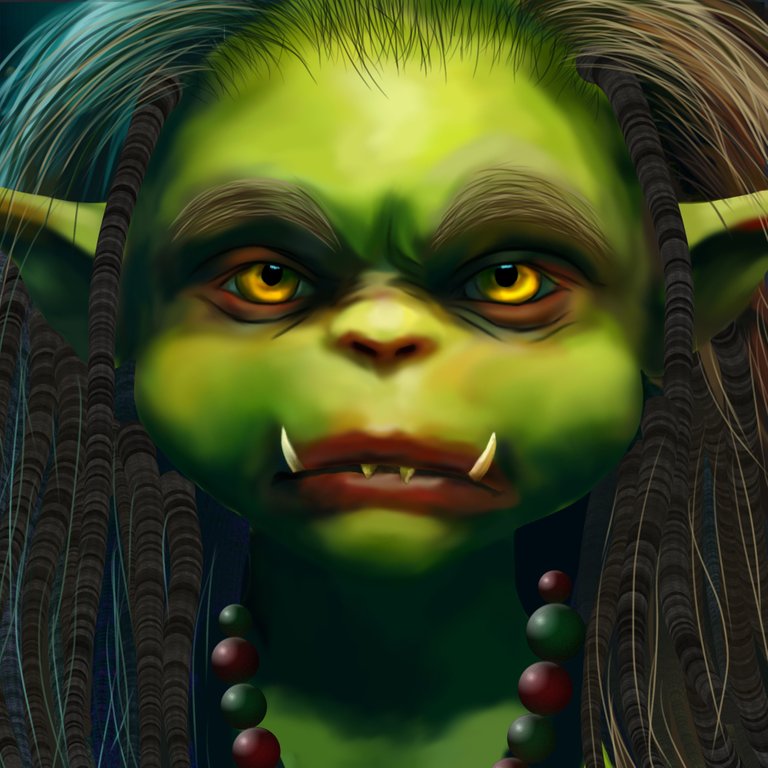
En este día quiero compartirles mi participación a el Social Media Challenge de esta de semana de Splinterlands. Y para esta ocasión quise representar una infancia de la carta QID YUFF con un retrato. Lo hice muy rápido tratando de colocarle los elementos que caracterizan esta carta y con una mirada sería ya que es un personaje bastante rudo y grande, me satisface este resultado que logré y que ahora les comparto, y espero lo disfruten y les guste mucho.🙂😊
On this day I want to share my participation in this week's Splinterlands Social Media Challenge. And for this occasion I wanted to represent a childhood of the QID YUFF card with a portrait. I did it very quickly trying to place the elements that characterize this letter and with a serious look since it is a rather rude and big character, I am satisfied with this result that I achieved and that I am now sharing with you, and I hope you enjoy it and like it a lot.🙂 😊
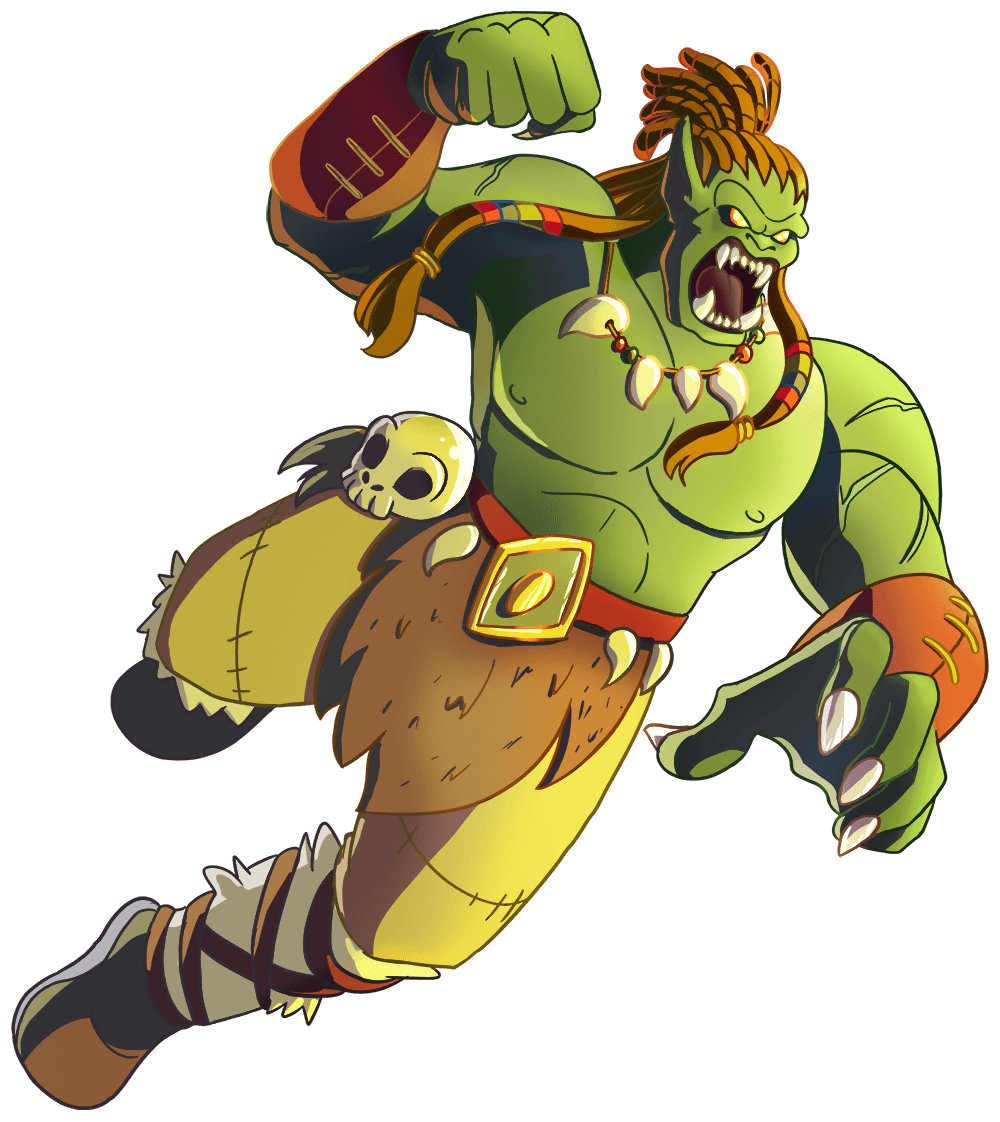
Link de la Imagen de Referencia/Reference Image Link

Etapas del Dibujo/Drawing Stages
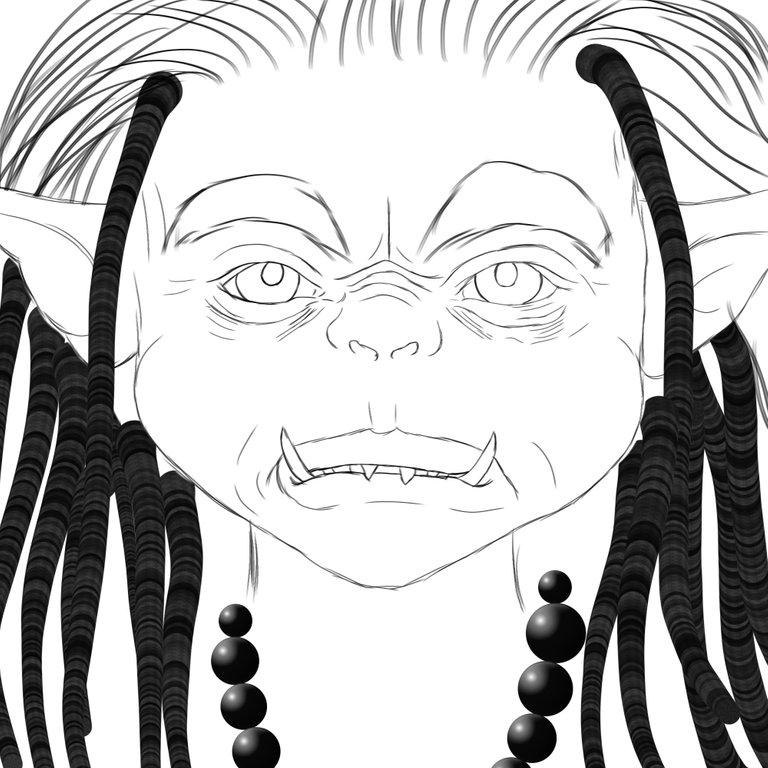
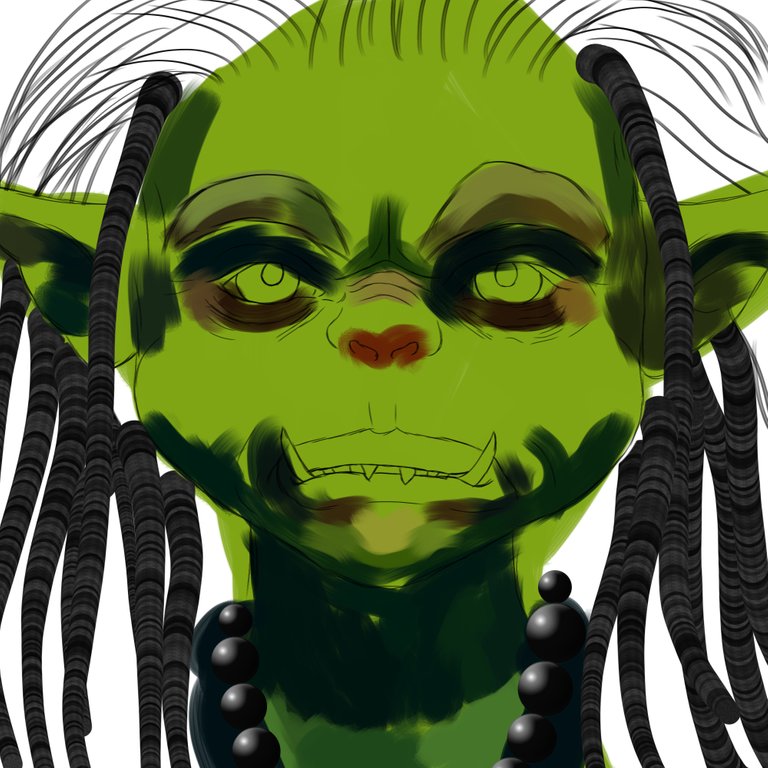
Inicie con un boceto simple usando en esta ocasión la brocha tipo pincel redondo aspero, y después en otra capa fui aplicando con la brocha tipo plano real una base de color verde para luego pasar a aplicar con la misma brocha y en método normal de mezcla las sombras más fuertes y la iluminación, después fui matizando con pinceladas y pase a difuminar para suavizar un poco.
I started with a simple sketch using this time the rough round brush, and then in another layer I applied a green base with the real flat brush and then went on to apply with the same brush and in the normal method of mixing the stronger shadows and lighting, then I shaded with brushstrokes and went to blur to soften a bit.
 |  |
 | 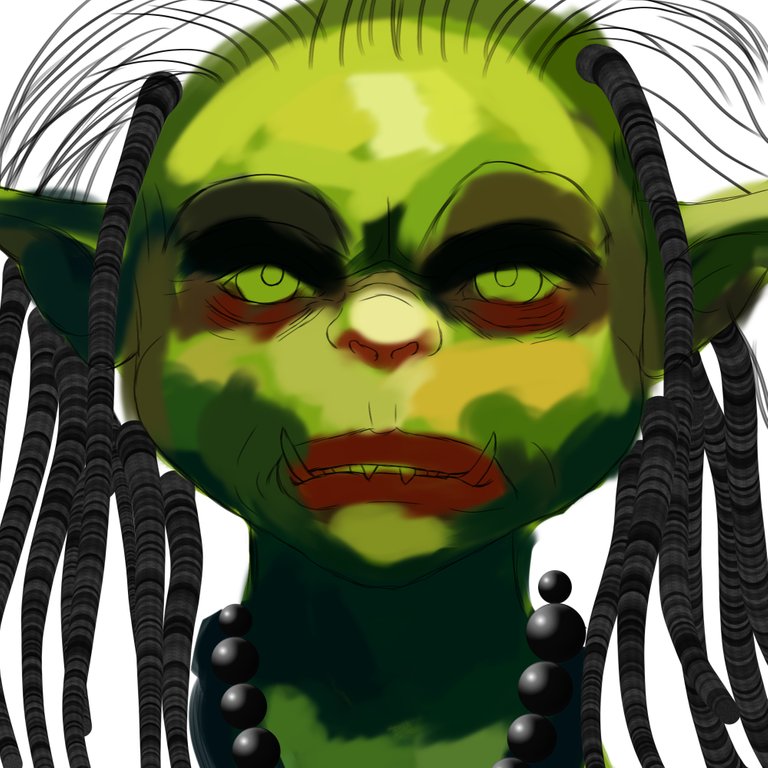 |
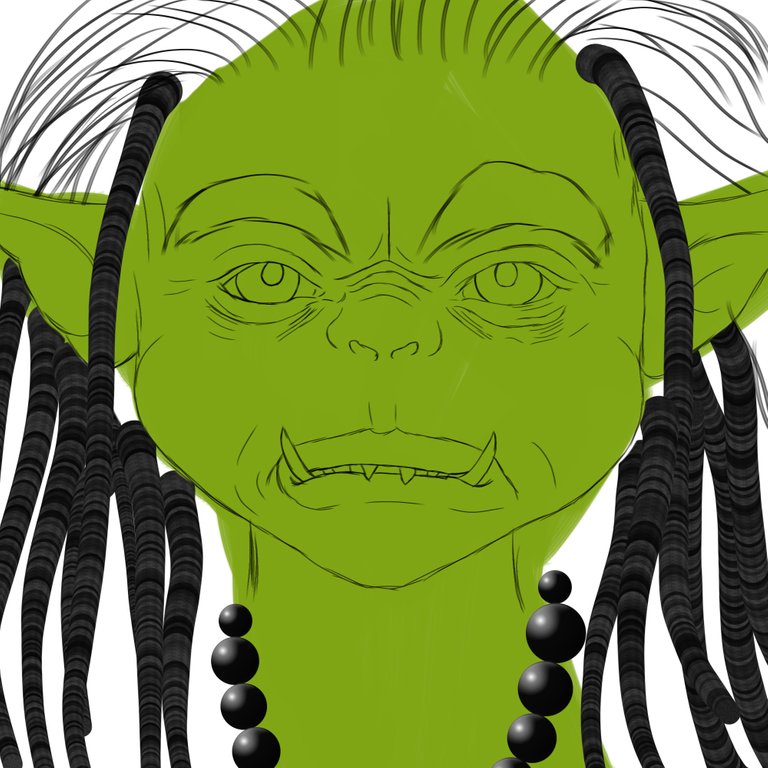
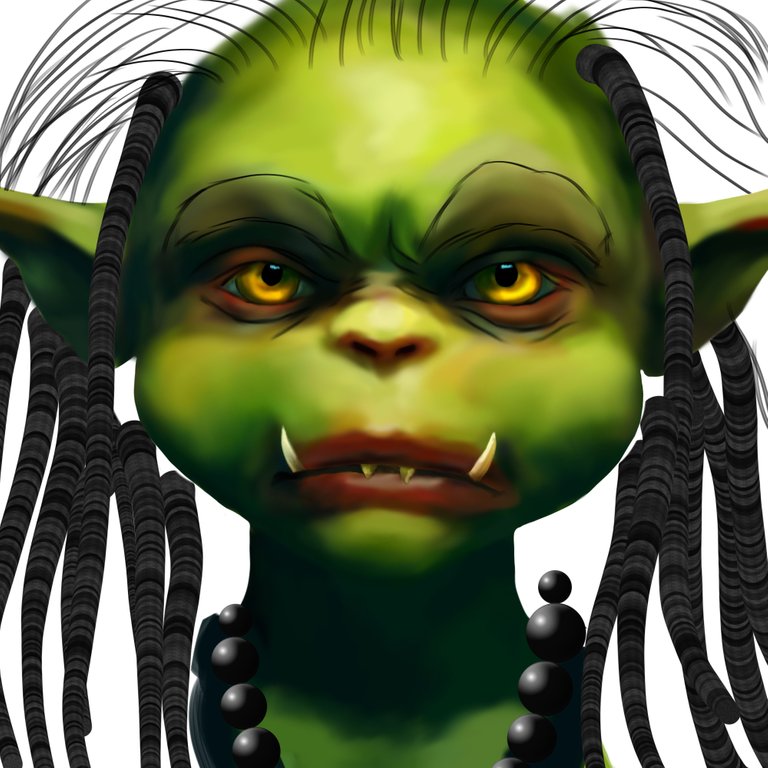
Seguí matizando con colores un poco más de pinceladas y fui mezclando y suavizando con el difumino usando la brocha tipo tiza, y seguí con la recreación de los dientes y los ojos usando el mismo método normal de mezcla pero en otra capa y luego pase a cambiar el tono del fondo con un azul oscuro y luego la capa del collar le aplique el bloqueo alfa para cambiarles el color con una opacidad media baja. Seguí después, en una nueva capa a recrear el cabello usando el pincel rendo aspero con la misma mezcla normal cambiando los tonos, usando una capa de mechones delanteros y otra para agregar profundidad.
I continued to tint with colors a little more brushstrokes and I blended and softened with the smudge using the chalk brush, and I continued with the recreation of the teeth and the eyes using the same normal method of blending but in another layer and then I went to change tone the background with a dark blue and then alpha lock the necklace layer to recolor them with low medium opacity. I followed later, in a new layer to recreate the hair using the rough round brush with the same normal mixture changing the tones, using a layer of frontal strands and another to add depth.
 |  |
 | 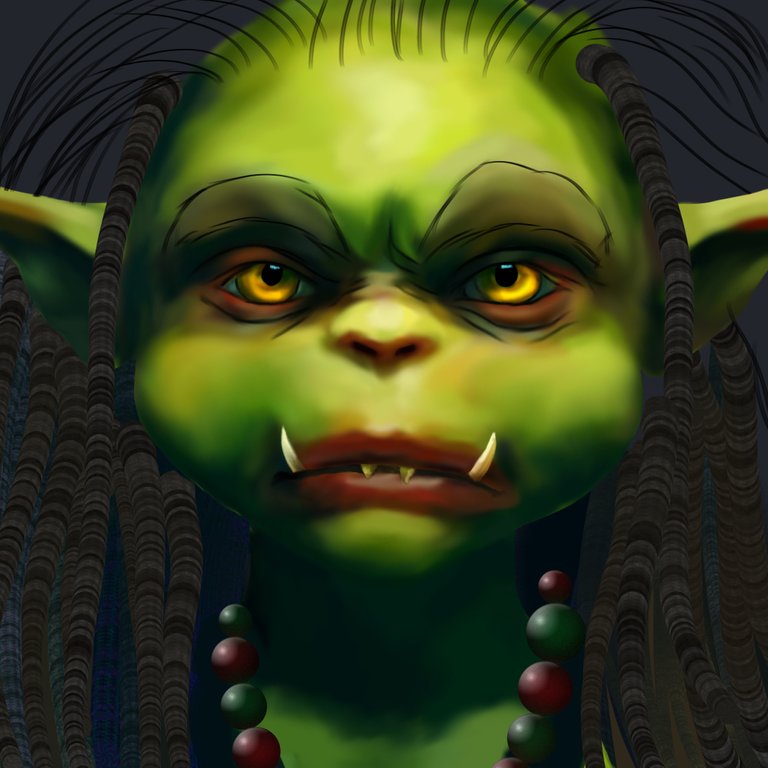 |  |
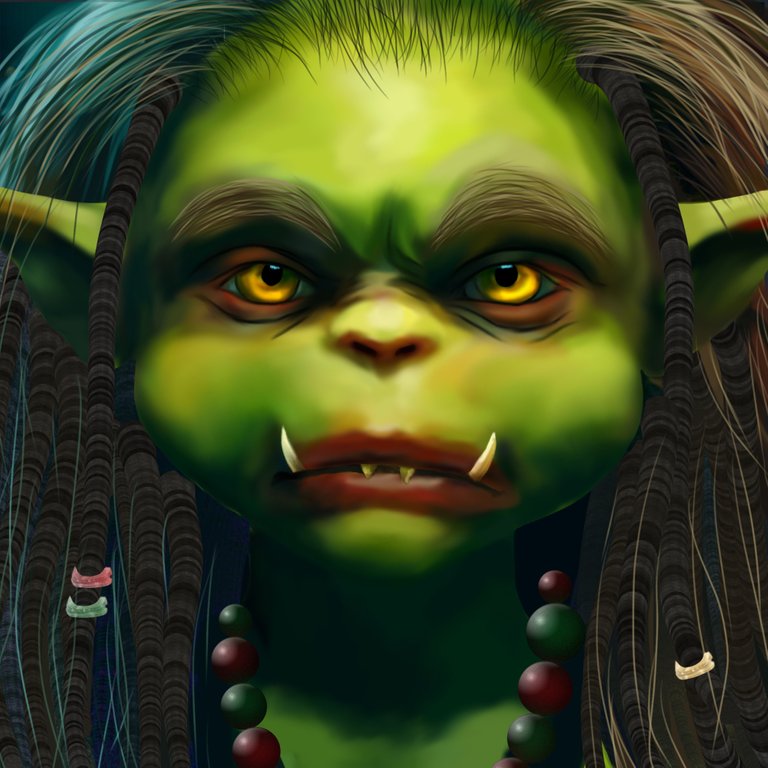
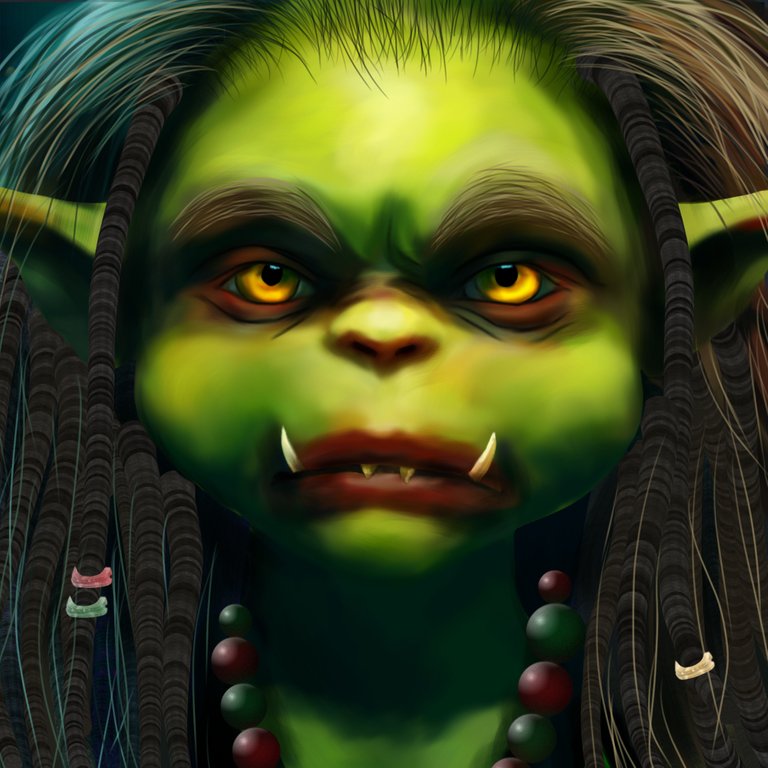
Finalmente, en esta etapa agregué los accesorios al cabello y usando el bloqueo alfa para aplicar color, use también una capa con superposición para resaltar los colores y sombras, después me fui con una capa con método añadir de mezcla para resaltar los brillos más fuertes y darle más profundidad, use el mismo pincel de purpurina y con el pincel plano real agregué iluminación a la piel, con estos brillos quede satisfecha y espero hayan disfrutado este proceso y como siempre los estaré leyendo mis queridos amigos.🌷🙂😘👋 Hasta una próxima entrega!🙌❤️
Finally, at this stage I added the accessories to the hair and using alpha lock to apply color, I also used an overlay layer to bring out the colors and shadows, then I went with an add blend layer to bring out the stronger highlights and Give it more depth, I used the same glitter brush and with the real flat brush I added lighting to the skin, with these glitters I was satisfied and I hope you enjoyed this process and as always I will be reading you my dear friends.🌷🙂😘👋 Until next time delivery!🙌❤️
 |  |
Redes Sociales/ Social Networks
Sigueme en/ Follow me in:
👉Instagram: @catrynart
👉 Twitter: @catrynart
Herramientas Usadas/Used Tools
- Tablet Android/ Android Tablet
- Programa Ibis Paint X/ Ibis Paint X Program
- Traductor Deepl/ Deelp Translator
- Servidor de Imagenes Imgbb/ Imgbb Image Server
- Dactilopintura Digital/ Digital Fingerprint Painting
🌺¡HASTA EL PRÓXIMO POST!🌺
Detenerse es Retroceder
To Stop is to go Backwards
Amazing Catryna, me encantaron sus rastas!
Gracias querida @equipodelta 🥰♥️🌷
!1UP Good work!
!PGM !PIZZA
$PIZZA slices delivered:
@curation-cartel(2/20) tipped @catrynart
underlock tipped catrynart
You have received a 1UP from @underlock!
@monster-curator, @oneup-curator, @neoxag-curator
And they will bring !PIZZA 🍕.
Learn more about our delegation service to earn daily rewards. Join the Cartel on Discord.
se ve super realista, excelente trabajo ^^
!LOLZ
lolztoken.com
A taxidermist takes only your skin.
Credit: reddit
@catrynart, I sent you an $LOLZ on behalf of nicosistemas5
(1/1)
ENTER @WIN.HIVE'S DAILY DRAW AND WIN HIVE!
Muchas gracias @nicosistemas5 🌷💗
Thanks so @bdvoter 🤗🌹♥️Thank you very much for always supporting my content and for always supporting me, you are a sunshine.🥰🌞✨
Thanks for sharing! - @alokkumar121
