Splinterlands Art Contest │Lord of Fire
¿Qué hay, amigos? Esta es mi participación en el Splinterlands Art Contest de esta semana. En esta ocasión, elegí a Lord of Fire. La idea era convertir a este personaje de aspecto malvado en uno tierno. Para lograr este objetivo, busqué en internet imágenes kawaiis (lindas) de personajes como Vegeta, cuyo carácter fuerte y orgulloso es una de sus cualidades más distintivas. Luego de encontrar en youtube dos que me gustaron, me inspiré en ellos para hacer mi versión de Lord of Fire en este estilo tan famoso entre los amantes del anime.
What's up, friends? This is my entry in this week's Splinterlands Art Contest. This time, I chose Lord of Fire. The idea was to turn this evil-looking character into a cute one. To achieve this goal, I searched the internet for kawaii (cute) images of characters like Vegeta, whose strong and proud character is one of his most distinctive qualities. After finding on youtube two that I liked, I was inspired by them to make my version of Lord of Fire in this style so famous among anime lovers.
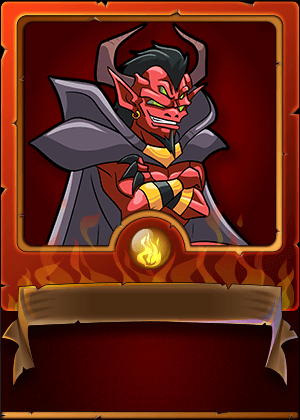
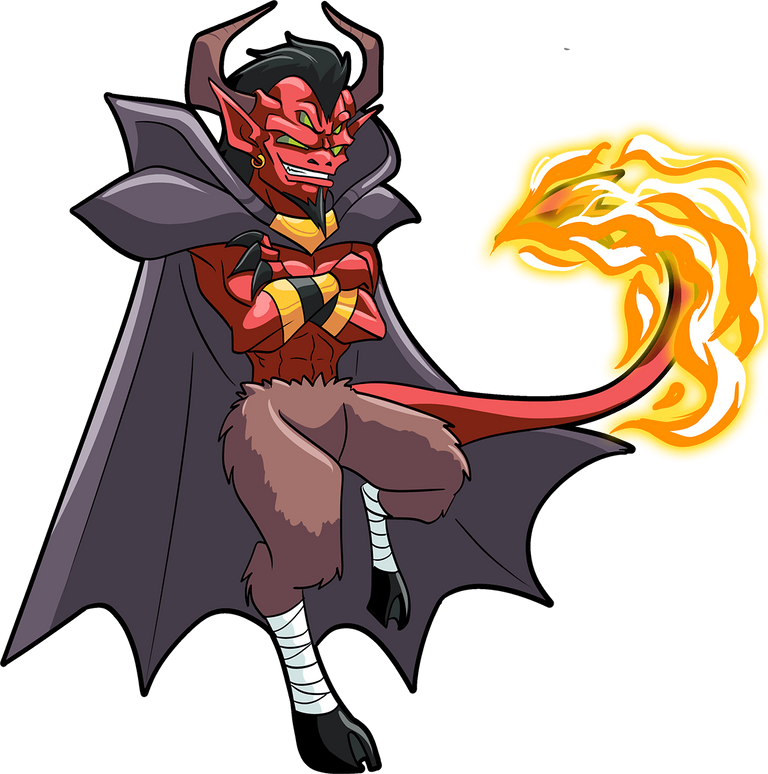
Leamos lo que dice la Wiki - Fandom de Splinterlands sobre este personaje:
“Conocido como el Señor del Fuego, se dice que pasa su tiempo descansando en su palacio bajo la lava en uno de los grandes cismas fundidos de las Tierras Ardientes. El Señor del Fuego se preocupa poco por la actividad de sus Demonios de Fuego, pero cada vez que se desafía su gobierno, se apresura a demostrar su poder a sus subordinados. Controla el fuego como un escultor trabaja la arcilla y se burla de los escudos y armaduras. El Señor del Fuego puede simplemente quemarte desde adentro”. Fuente.
Let's read what the Splinterlands Wiki - Fandom says about this character:
"Known as the Lord of Fire, he is said to spend his time lounging in his underlava palace in one of the great molten schisms of the Burning Lands. The Lord of Fire cares little for the activity of his Fire Demons, but whenever his rule is challenged, he is quick to prove his power to his underlings. He controls fire as a sculptor works clay and scoffs at shields and armor. The Lord of Fire can simply burn you from within". Source.
En estos enlaces pueden ver los vídeos de los dibujos de Vegeta que les comenté:
In these links you can see the videos of the Vegeta drawings I told you about:
 |  |  |
|---|---|---|
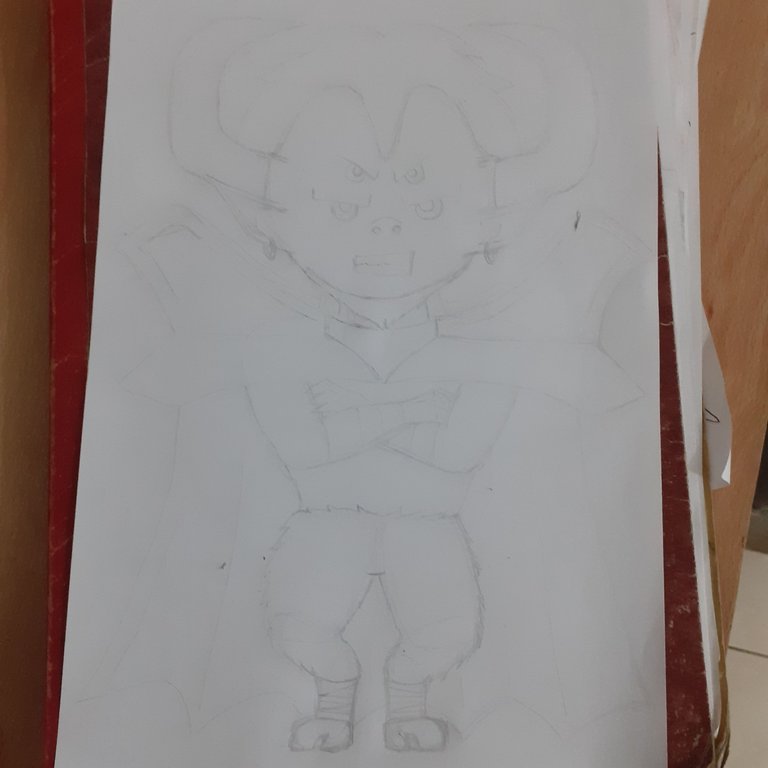 | 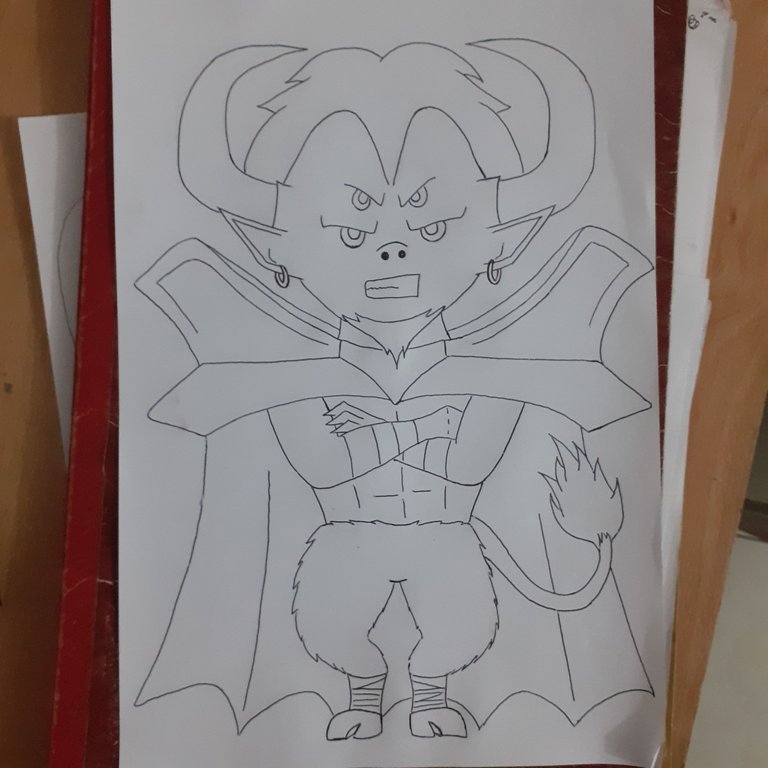 | 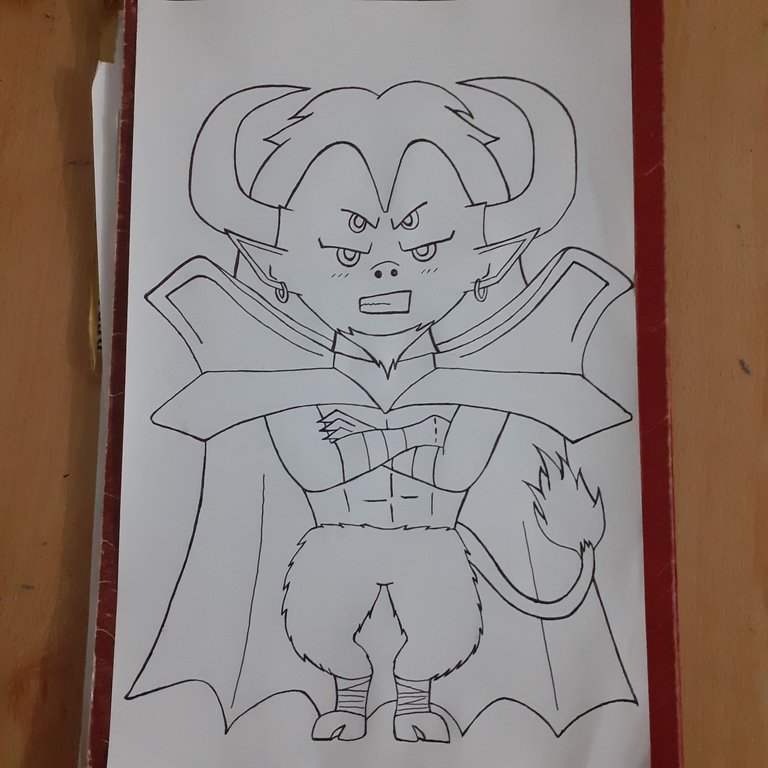 |
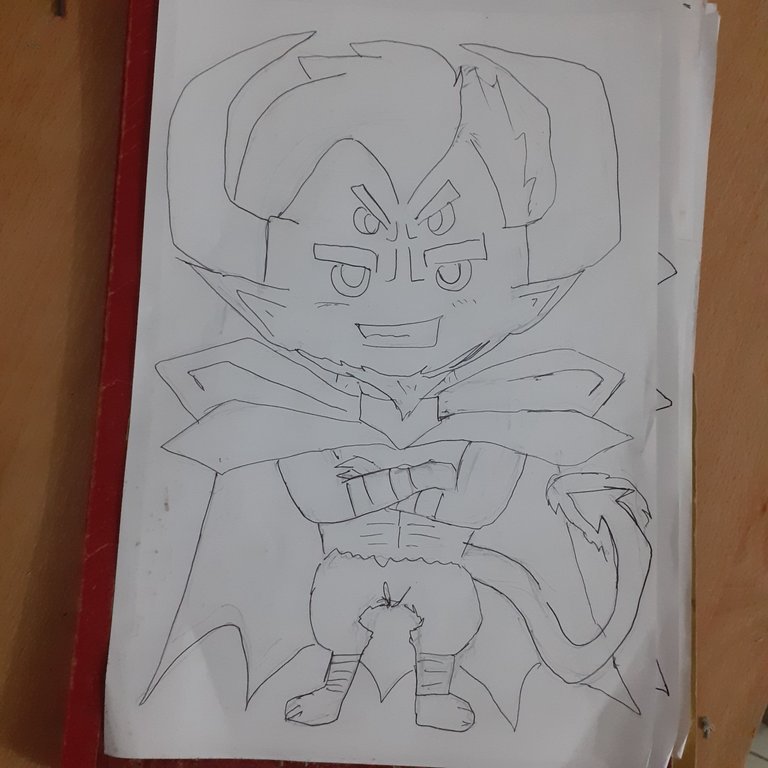
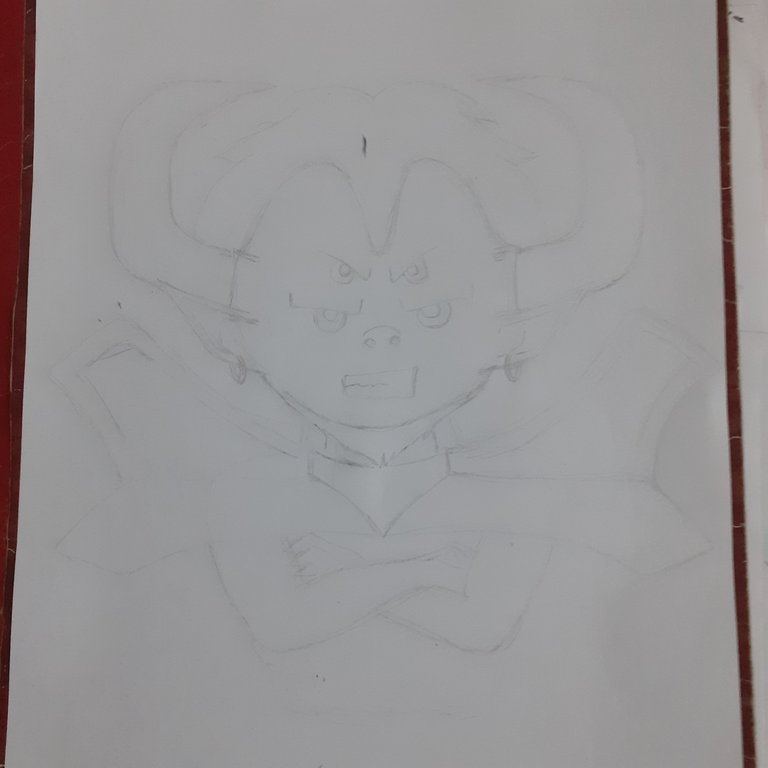
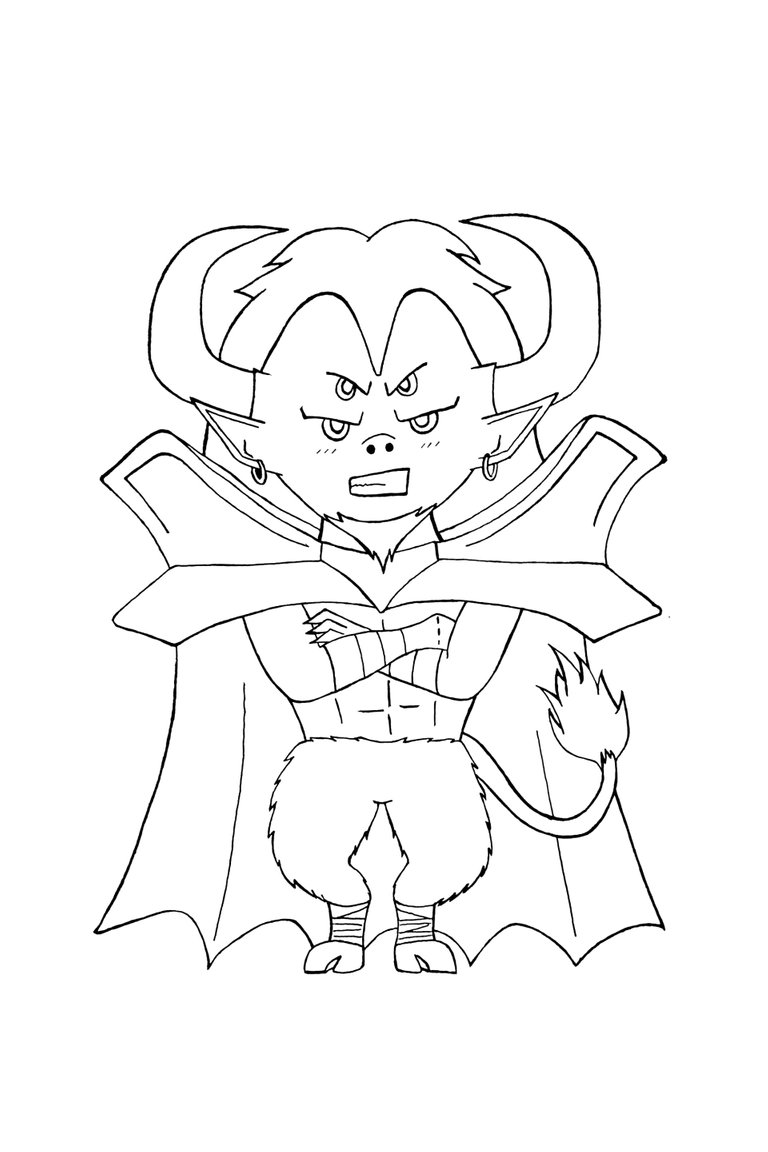
Primero hice un boceto rápido del personaje, sin pensar, para asegurarme que podía verse bien en ese estilo. Ayer en la tarde me senté a dibujarlo con más calma y definí los rasgos que lo caracterizan, agregando algunos detalles para que se viera kawaii, como las rayas debajo de los ojos. Hice el boceto a lápiz y por último lo remarqué con bolígrafo negro.
First I made a quick sketch of the character, without thinking, to make sure he could look good in that style. Yesterday afternoon I sat down to draw him more calmly and defined the features that characterize him, adding some details to make him look kawaii, like the stripes under the eyes. I made the sketch in pencil and finally I outlined it with black pen.
 |  |
|---|---|
Después lo pasé a digital. En photoshop me di cuenta que el cuerno izquierdo estaba más largo que el derecho. Para arreglarlo, utilicé la herramienta seleccionar, pulsé el clic derecho del ratón sobre la selección y elegí la opción de transformación libre. Reduje la escala del cuerno y pulsé clic derecho nuevamente, seleccioné la opción deformar y devolví los trazos de la parte donde había realizado el corte a la posición original. Con los ojos del lado derecho tuve un problema similar. Se encontraban disparejos y no se veían nada bien, así que los eliminé. Luego copie y pegué los del lado izquierdo. Volteé de forma horizontal la capa y los coloqué donde estaban los ojos anteriores.
Then I went digital. In photoshop I noticed that the left horn was longer than the right one. To fix it, I used the select tool, right clicked on the selection and chose the free transform option. I reduced the scale of the horn and right clicked again, selected the deform option and returned the strokes of the part where I had made the cut to the original position. With the eyes on the right side I had a similar problem. They were uneven and didn't look good at all, so I removed them. Then I copied and pasted the ones on the left side. I flipped the layer horizontally and placed them where the previous eyes were.
 |  |
|---|---|
Mientras coloreaba el personaje, noté que el cuello tampoco había quedado bien. En realidad, lo había notado desde que remarqué el boceto con bolígrafo, pero pensé que no sería un problema. Para solucionarlo, borre las líneas del cuello y las dibujé nuevamente con la herramienta pincel, esta vez paralelas al broche de la capa.
While coloring the character, I noticed that the neck didn't look right either. Actually, I had noticed it since I outlined the sketch with a pen, but I thought it wouldn't be a problem. To fix it, I erased the neck lines and drew them again with the brush tool, this time parallel to the layer's snap.
 |  |
|---|---|
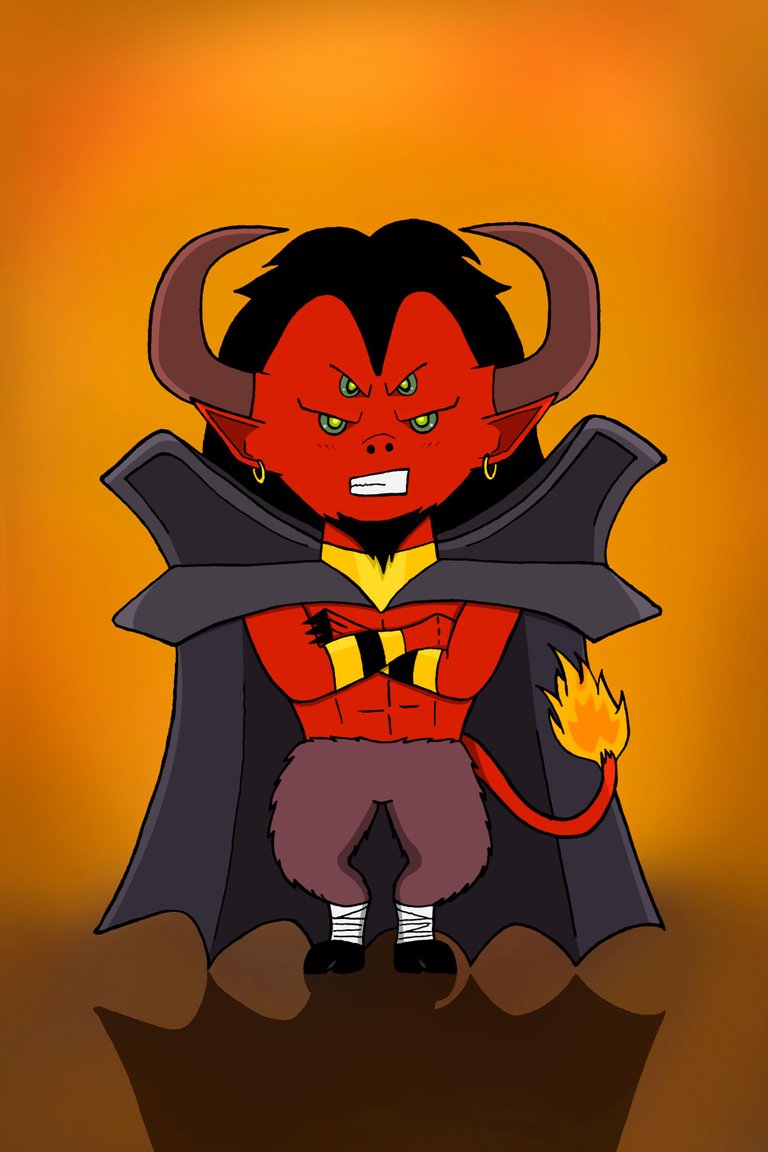
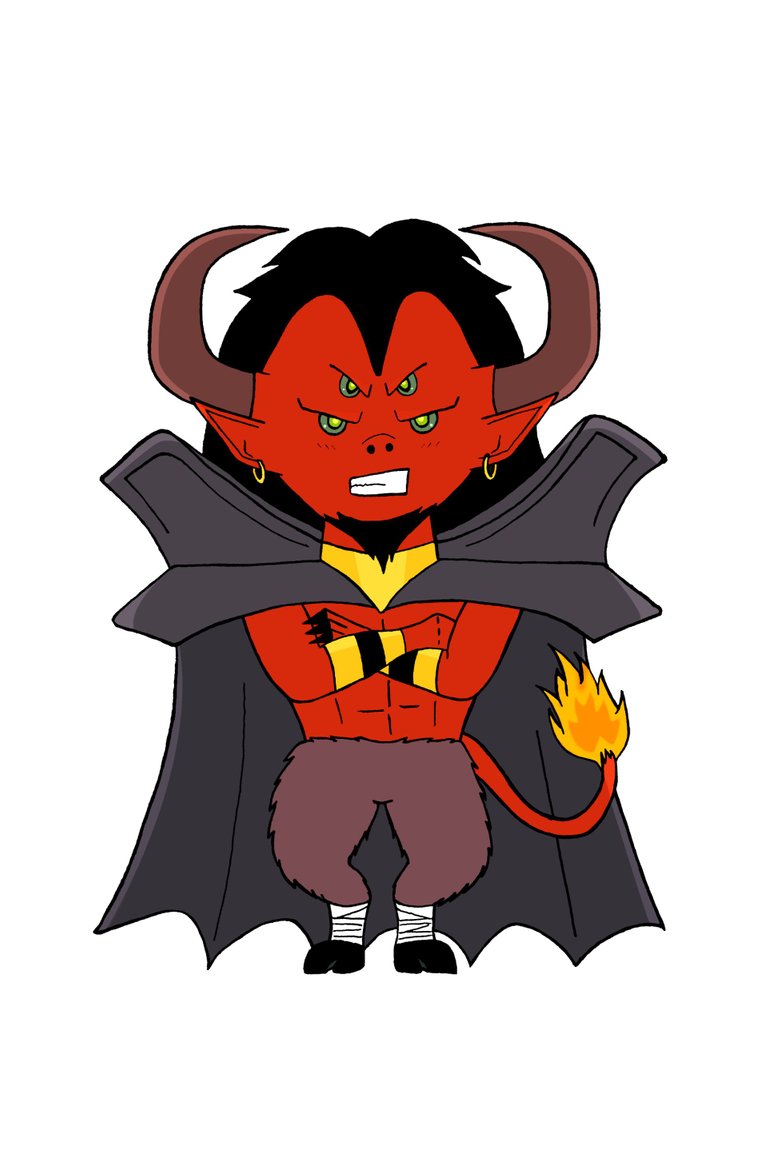
Al momento de trabajar en las sombras y las luces del dibujo, visualicé al personaje rodeado del ardiente fuego, pero trabajé la luz como si proviniera de su espalda (mientras escribía la publicación caí en cuenta que no trabajé la iluminación de la flama de la cola). Este proceso me llevó algo de tiempo, pero realmente lo disfruté. Quería probar algo diferente, así que hice la mayoría de las sombras y las luces con la herramienta pluma. Pensé que sería tedioso, pero resultó mucho más limpio y relajado que hacerlo con el pincel.
When working on the shadows and lights of the drawing, I visualized the character surrounded by the burning fire, but I worked on the light as if it was coming from his back (while writing the post I realized that I didn't work out the tail flame lighting). This process took me some time, but I really enjoyed it. I wanted to try something different, so I did most of the shadows and highlights with the pen tool. I thought it would be tedious, but it turned out much cleaner and more relaxed than doing it with the brush.

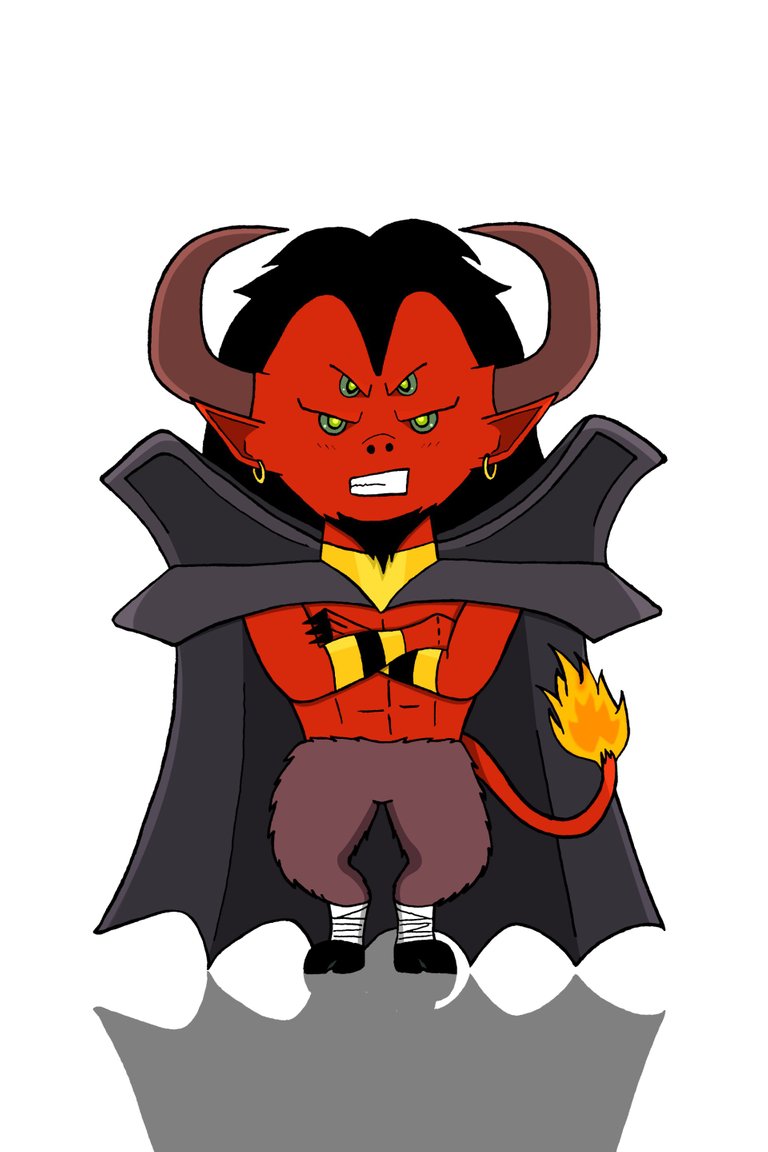
Por último, trabajé en el fondo, con la herramienta pincel y un pincel difuso. Reduje la opacidad del pincel y realicé una mezcla de rojo, naranja y amarillo alrededor del personaje. Quería colorear el suelo como si fuera magma o cenizas, pero los resultados no eran buenos, así que utilicé una mezcla de marrón oscuro como alternativa. Después combiné todas las capas y modifiqué el tono y la saturación general del dibujo. Con esto di por finalizado el trabajo.
Empecé a trabajar en este dibujo ayer en la tarde, pero terminé casi a medianoche. Hoy se lo mostré a unos amigos y me dijeron que sí se veía kawaii (tenía dudas). No sé qué pensarán ustedes. A mí me ha gustado porque realmente parece un lord. Es un personaje con estilo y actitud. He disfrutado hacerlo.
Finally, I worked on the background, with the brush tool and a diffuse brush. I reduced the opacity of the brush and made a mix of red, orange and yellow around the character. I wanted to color the ground as if it were magma or ashes, but the results were not good, so I used a dark brown blend as an alternative. I then combined all the layers and modified the overall tone and saturation of the drawing. With this I finished the work.
I started working on this drawing yesterday afternoon, but finished almost at midnight. Today I showed it to some friends and they told me that it did look kawaii (I had doubts). I don't know what you guys think. I liked it because he really looks like a lord. He's a character with style and attitude. I enjoyed doing it.
• Lápiz 6h, bolígrafo, hoja blanca.
• Samsung Galaxy A10 para tomar las fotos del boceto.
• Photoshop CS6.
• Pencil 6h, ballpoint pen, white sheet.
• Samsung Galaxy A10 to take the sketch photos.
• Photoshop CS6.

Thank you!
Me encanto este personaje con esa descripcion, aparte el diseño si que esta bonito. Por otro lado, tiene los rasgos y la pose caracteristica de Vegeta asi que lograste lo que querias hacer jejeje ❤️ esa forma imponente y a la vez kawaii de pararse, excelente el diseño que le has hecho amigo 😍
Me alegra leer tu comentario. No soy fanático de los dibujos en ese estilo, pero siempre me han llamado la atención y me pareció un buen reto convertir a este malévolo personaje en algo tierno. Muchas gracias por tu apreciación, Yami ❤️
Thanks for sharing! - castleberry#6859

Many thanks for the support!
Contáctenos para saber más del proyecto a nuestro servidor de Discord.
Si deseas delegar HP al proyecto: Delegue 5 HP - Delegue 10 HP - Delegue 20 HP - Delegue 30 HP - Delegue 50 HP - Delegue 100 HP.
Gracias por el apoyo.